That moment… You slip on the headset, controllers in hand, ready to scale Everest or blast TIE Fighters. But instead of soaring, you’re stuttering. The world judders, textures blur, and nausea creeps in. Your powerful gaming laptop should crush this, right? Yet VR feels like it’s running through molasses. Frustrating? Absolutely. Fixable? 100%. Learning how to optimize gaming laptop for vr gaming isn’t just tech wizardry – it’s your ticket from choppy disappointment to breathtaking, buttery-smooth immersion. Let’s turn your laptop into a certified VR Jedi.
Why Laptops Need Extra VR Love (The Thermal Truth)
Desktop PCs have spacious cases and beefy cooling. Laptops? They’re engineering marvels cramming desktop-grade power into a slim chassis. This creates the #1 VR laptop challenge: Heat. When your CPU and GPU get too hot, they throttle – slashing performance right when you need it most, causing stutters and frame drops that ruin VR. Optimization is about managing thermals and squeezing out every drop of performance efficiently.
Pre-Flight Checklist: Is Your Laptop VR-Ready?
Before deep diving into optimization, let’s ensure your rig meets the baseline. VR demands are steep:
- GPU: Absolute Minimum: NVIDIA GTX 1060 (6GB) / AMD Radeon RX 580 (8GB). Recommended Sweet Spot (2024+): NVIDIA RTX 3060 (Laptop) / AMD Radeon RX 6600M or higher. RTX 3070/4070 or RX 6800M/7700S are ideal for higher resolutions/refresh rates.
- CPU: Intel Core i5/i7 H-series (e.g., i5-12500H, i7-12700H) or AMD Ryzen 5/7/9 H-series (e.g., Ryzen 5 6600H, Ryzen 7 6800H, Ryzen 9 7940HS). Avoid U-series low-power chips.
- RAM: 16GB is essential. 32GB is becoming highly recommended for future-proofing and complex games/sims.
- Ports: You need full bandwidth:
- Wired Headsets (DisplayPort/USB): A true DisplayPort 1.4 port (or USB-C with DisplayPort Alt Mode) + high-speed USB 3.x port. *Avoid HDMI for PCVR unless your headset explicitly supports HDMI 2.0+ and your laptop has it.*
- Quest 2/3/Pro (Link/Air Link): High-speed USB 3.x port (preferably USB-C) for Link cable. For Air Link/Virtual Desktop, a strong 5GHz Wi-Fi 6/6E router near your play area is critical.
- Storage: SSD (NVMe preferred) for fast game/asset loading. VR games are large!
VR Connection Showdown – Picking Your Pipeline
| Connection Type | Best For… | Pros | Cons & Optimization Needs |
| DisplayPort | Valve Index, HP Reverb, Varjo | Best Performance & Latency, Dedicated bandwidth | Requires specific port, Cable tethers |
| USB-C (DP Alt Mode) | Many newer headsets | Clean single-cable solution (if supported) | Verify laptop port supports DP Alt Mode! |
| Link Cable (USB-A/C) | Meta Quest 2/3/Pro | Decent wired performance, Charges headset | Compression artifacts, Requires high-quality cable (e.g., Syntech) |
| Air Link / Virtual Desktop | Meta Quest 2/3/Pro (Wireless) | Complete Freedom! | Demands PERFECT Wi-Fi: Dedicated 5GHz channel, Router in same room, Low interference. Latency sensitive. |
Gear Up: Essential Hardware Tweaks
Optimization starts before you boot the game.
- Elevate & Breathe: NEVER use your laptop flat on a bed or blanket. Use a cooling pad with large, powerful fans. Elevate the rear for better airflow. This is non-negotiable for sustained VR performance.
- Power Plan: Unleash the Beast: Windows loves battery saving.
- Plugged In? Set Power Plan to “Best Performance”.
- In laptop control software (NVIDIA Control Panel, AMD Adrenalin, OEM app like Armoury Crate/Dragon Center), set the mode to “Performance” or “Turbo”.
- Driver Updates: Stay Sharp: Outdated drivers are VR killers. Regularly update:
- GPU Drivers: Use GeForce Experience or AMD Adrenalin. Check “Clean Install” occasionally.
- Chipset Drivers: Get these from your laptop manufacturer’s support page.
- USB/Thunderbolt Drivers: Crucial for stable headset connections.
- Dedicated GPU: Force It: Ensure VR apps use your powerful NVIDIA/AMD GPU, not the weak integrated graphics.
- NVIDIA: Right-click desktop > NVIDIA Control Panel > Manage 3D Settings > Program Settings > Add your VR compositor (e.g., vrserver.exe – usually in SteamVR\bin\win64 or Oculus\Support\oculus-runtime) AND your VR game .exe > Set Preferred Graphics Processor to “High-performance NVIDIA processor”.
- AMD: Similar process in AMD Adrenalin Software under Graphics Settings.
Read also: Unblocked Games World: Your Secret Portal to Fun When Every Other Site is Blocked
Software Sorcery: Taming the VR Ecosystem
- SteamVR Settings:
- Launch SteamVR > Settings > Video > Per-Application Video Settings.
- START LOW. Set resolution to Manual and around 100% for your headset. Increase only if performance is stable.
- Disable “Advanced Supersample Filtering” (often minimal visual gain for cost).
- Enable “Motion Smoothing” (SteamVR’s reprojection) as a safety net, but aim to run without it.
- Oculus App Settings (For Quest/Rift):
- Devices > Select Headset > Graphics Preferences.
- Set “Refresh Rate” (e.g., 80Hz or 90Hz) and “Render Resolution”. Start at the recommended setting. Increase cautiously.
- Under “Beta” tab, consider enabling “Public Test Channel” for latest performance fixes.
- For Air Link/Virtual Desktop: Set Bitrate. Start around 100-120Mbps (H.264) or 80-100Mbps (HEVC) for Air Link. In Virtual Desktop app, choose Medium or High preset and tweak from there. Lower bitrate if you see artifacts or stuttering.
- Windows Background Bloat:
- Game Mode: Settings > Gaming > Game Mode > ON. (Controversial, but generally helps on Windows 11).
- Background Apps: Settings > Apps > Installed apps > Turn off background apps for non-essentials.
- Startup Apps: Task Manager > Startup > Disable everything non-critical.
- Xbox Game Bar: Settings > Gaming > Xbox Game Bar > OFF (Can sometimes interfere).
- In-Game Settings: Master the Trade-Offs
- Resolution Scaling / Supersampling: TURN THIS DOWN FIRST. VR renders two views (eyes). This is the biggest performance hog. Start at 100% or below.
- Anti-Aliasing: Use lower-cost options like FXAA or SMAA. Avoid MSAA or SSAA unless you have massive overhead.
- Shadows: Medium or Low. High/Ultra shadows are very costly.
- Textures: High/Ultra is often fine (uses VRAM), but watch for stuttering if VRAM fills up.
- View Distance / Level of Detail (LOD): Medium. You won’t notice distant details as much in VR.
- Post-Processing: Bloom, Depth of Field, Motion Blur – TURN OFF. These often look bad or cause discomfort in VR.
- Advanced Tech: DLSS/FSR/XeSS: Your BEST FRIENDS! If supported, ENABLE THEM. They render at lower resolution and intelligently upscale, giving huge performance gains with minimal visual loss. Prioritize Quality or Balanced mode.
Performance Savior Tech – DLSS vs. FSR vs. XeSS
| Feature | What It Does | Who Can Use It? | Best Mode for VR Laptops |
| NVIDIA DLSS | AI-powered upscaling | NVIDIA RTX GPUs (20-series and up) | Quality or Balanced |
| AMD FSR | Spatial upscaling (FSR 1) / Advanced spatial (FSR 2/3) | ANY GPU (NVIDIA, AMD, Intel) | Quality (FSR 2/3) |
| Intel XeSS | AI-powered (XeSS DP4a) / AI-powered (XeSS XMX) | Intel Arc GPUs (XMX). Other GPUs (DP4a, often slower) | Quality (If on Intel Arc) |
Advanced Jedi Techniques: Undervolting & Monitoring
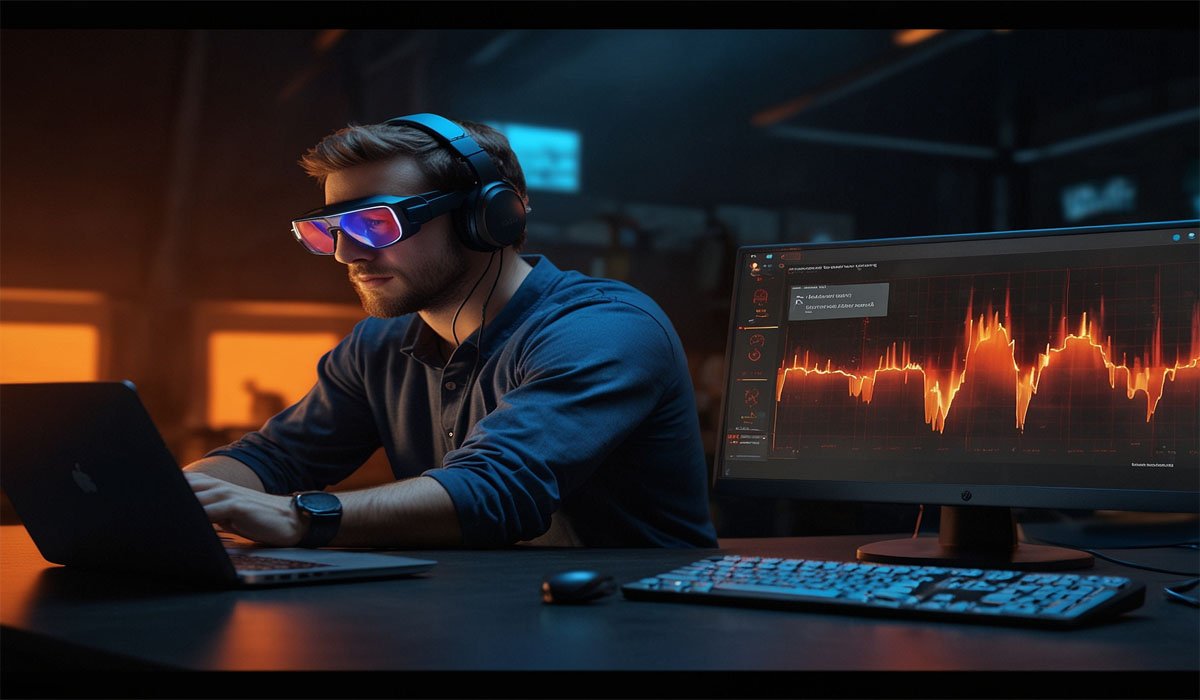
- Monitor Relentlessly: Use tools while in VR:
- fpsVR (SteamVR): Essential! Shows frame timing (CPU/GPU), reprojection %, temps, clock speeds right on your wrist or overlay. Shows exactly where bottlenecks are.
- MSI Afterburner + RivaTuner: Classic overlay for system stats (needs setup).
- Undervolting: Cooler & Faster (Proceed Cautiously): Reducing the voltage supplied to your CPU/GPU at a given clock speed lowers heat and power draw, reducing throttling and potentially allowing sustained higher boosts.
- Tools: ThrottleStop (CPU), MSI Afterburner (GPU Curve Editor – requires knowledge).
- WARNING: Do your research for your specific laptop model! Test incrementally and stress test for stability. A bad undervolt can crash. The goal is lower temps/same performance, not necessarily higher clocks.
- Reprojection / Motion Smoothing: Understand Your Safety Net: When your PC can’t hit the target framerate (e.g., 90fps), ASW (Oculus) or Motion Smoothing (SteamVR) kicks in. It synthesizes frames at 45fps (for 90Hz target), making motion smoother but potentially introducing “ghosting” artifacts.
- Goal: Optimize settings to stay above your target framerate (e.g., 90fps) most of the time, minimizing reliance on reprojection. Use fpsVR to monitor “% Reprojection” – aim for <5-10%.
Concluding Ritual: Your VR Optimization Flow
- Prep the Temple: Elevate laptop, max power plan, update drivers, force dedicated GPU.
- Baseline Check: Run SteamVR Performance Test or Oculus First Contact. Is it smooth?
- Tame the Software: Set global SteamVR/Oculus res to 100%, disable unneeded effects.
- Conquer the Game: Launch target game. Start LOW (Medium preset). Use fpsVR.
- Optimize Ruthlessly: Lower Resolution Scaling first. Then Shadows, AA, Post-Processing. ENABLE DLSS/FSR/XeSS if available!
- Inch Upward: If fpsVR shows stable frametimes (green bars) and temps <85-90°C, slightly increase one setting (e.g., Textures, or Resolution to 110%). Test again.
- Embrace the Net: If occasional drops happen, ensure ASW/Motion Smoothing is ON as backup.
- Consider the Undervolt: If thermals are the clear bottleneck (CPU/GPU hitting 90°C+ and throttling), research safe undervolting for your model.
The “Aha!” Moment: It’s not about maxing every slider. It’s about finding that sweet spot where immersion is flawless, your laptop isn’t screaming, and you forget you’re wearing tech – lost completely in the virtual world. That’s the optimized VR dream.
VR Laptop Optimization FAQs: Quick Fixes for Common Headaches
- Q: My VR is super choppy, but my laptop has an RTX 3060! What gives?
- A: Triple-check basics: Is it plugged in? Is Power Mode set to “Best Performance”/”Turbo”? Is the headset plugged into the correct high-speed port (not HDMI)? Are you using the dedicated GPU? Is it overheating? Use fpsVR immediately!
- A: Triple-check basics: Is it plugged in? Is Power Mode set to “Best Performance”/”Turbo”? Is the headset plugged into the correct high-speed port (not HDMI)? Are you using the dedicated GPU? Is it overheating? Use fpsVR immediately!
- Q: Wireless (Air Link/VD) is laggy/jittery. Help!
- A: This is almost always Wi-Fi. Ensure: Your laptop is connected via Ethernet to your router. Your headset is on a dedicated, clear 5GHz channel (use a Wi-Fi analyzer app). Router is in the same room as play area. Reduce Air Link/VD bitrate. Consider a dedicated Wi-Fi 6/6E router just for VR.
- A: This is almost always Wi-Fi. Ensure: Your laptop is connected via Ethernet to your router. Your headset is on a dedicated, clear 5GHz channel (use a Wi-Fi analyzer app). Router is in the same room as play area. Reduce Air Link/VD bitrate. Consider a dedicated Wi-Fi 6/6E router just for VR.
- Q: Should I upgrade my RAM to 32GB for VR?
- A: Increasingly, yes, especially for modern sims (flight/racing), open-world games, or using VR with other apps. 16GB is the minimum, but 32GB provides significant headroom and reduces stuttering from memory swapping.
- A: Increasingly, yes, especially for modern sims (flight/racing), open-world games, or using VR with other apps. 16GB is the minimum, but 32GB provides significant headroom and reduces stuttering from memory swapping.
- Q: What’s more important for VR, CPU or GPU?
- A: The GPU is usually the primary bottleneck. However, a severely underpowered CPU (or one throttling badly) will also cause stutters. Aim for a balanced mid-to-high-end H-series CPU and the best GPU you can afford (RTX 3060+ / RX 6600M+).
- A: The GPU is usually the primary bottleneck. However, a severely underpowered CPU (or one throttling badly) will also cause stutters. Aim for a balanced mid-to-high-end H-series CPU and the best GPU you can afford (RTX 3060+ / RX 6600M+).
- Q: DLSS/FSR looks blurry in VR. Should I turn it off?
- A: Try different modes! “Quality” mode often looks very close to native resolution but gives a huge performance boost. “Balanced” is a good trade-off. Avoid “Performance” or “Ultra Performance” in VR unless absolutely necessary. The performance gain often outweighs the slight softness.
- A: Try different modes! “Quality” mode often looks very close to native resolution but gives a huge performance boost. “Balanced” is a good trade-off. Avoid “Performance” or “Ultra Performance” in VR unless absolutely necessary. The performance gain often outweighs the slight softness.
- Q: How do I know if my laptop is thermal throttling?
- A: Use monitoring tools like HWInfo64, MSI Afterburner, or fpsVR. Look for CPU/GPU temperatures consistently hitting 90-95°C+ and clock speeds dropping significantly below their rated boost clocks during gameplay.
- A: Use monitoring tools like HWInfo64, MSI Afterburner, or fpsVR. Look for CPU/GPU temperatures consistently hitting 90-95°C+ and clock speeds dropping significantly below their rated boost clocks during gameplay.
- Q: Is it worth using ThrottleStop/Afterburner for undervolting?
- A: If your laptop runs hot and throttles, absolutely. A successful, stable undervolt can lower temperatures by 5-15°C, reducing throttling and maintaining higher performance. Do thorough research for your specific laptop model first.
You may also like: gimkit host: Your Guide to Running Awesome Learning Games